Configure along with the video
This section will guide you through the process of configuring a bridge in the Otmoic system. The bridge in the Otmoic system is similar to the trading pair in an exhange, but a bridge is unidirectional. This means you can only exchange an asset for another, but not vice versa.
You can configure a bridge in two places:
- For the initial configuration, you can input all the necessary information on the 'Guide' page.
- For any additional bridges, you should go to each project's configuration page.
First Bridge
Configure Token
You need to provide or select two parts of information to configure a
token.- The blockchain where the
tokenis located. - Information about the
tokenitself, including Contract Address, Name displayed in the system, Market Name, Token Precision, Token Type.- The Market Name is used for hedging and retrieving market prices. It automatically matches trading pairs with
MarketName/USDTin centralized exchanges. - The token type includes
coinandstable coin. The type of token influences the hedging logic of the Automated Market Maker. Non-stable coins are traded in the Inverse Perpetual Contract in exchanges to maintain a stable overall net value. Please choose according to your circumstances.
- The Market Name is used for hedging and retrieving market prices. It automatically matches trading pairs with
We have preset several token configurations to simplify your setup process. The configuration uses test tokens on the test blockchain and common tokens on the actual blockchain.
In the video, you may have noticed that we set up two tokens. This is because a
bridgeneeds at least two tokens, one at each end, to function correctly. For instance, if we want to establish abridgeto exchangeUSDTonETHforUSDTonBSC, we must set up theUSDTtoken information on bothETHandBSC.- The blockchain where the
Configure Wallet
You need to provide or select two parts of information to configure a
wallet.- The blockchain used by the
wallet. - Information about the
walletitself, including Address, Private Key.
When executing an exchange, you (as LP) receive tokens in the
srcside and need to send tokens in thedstside. So you need at least onewalleton the same blockchain as the token in dst to complete the transaction. You also need to make sure that yourwallethas enoughgasanddsttokens to finish the exchange.If the tokens you're receiving (
src) and sending (dst) aren't on the same blockchain, or if you want to use a differentwalletto receive tokens, you'll need to set up anotherwalletforsrc.TIP
The wallet used on the
dstside needs to declare its ownership status on the blockchain. Please refer to the guide for setting an NFT avatar.- The blockchain used by the
Configure Account
You only need to provide the introduction of LP to configure an
account. Your Terminus Name will be used as your lp_id, and all identity verification during the exchange process will also be based on your Terminus Name.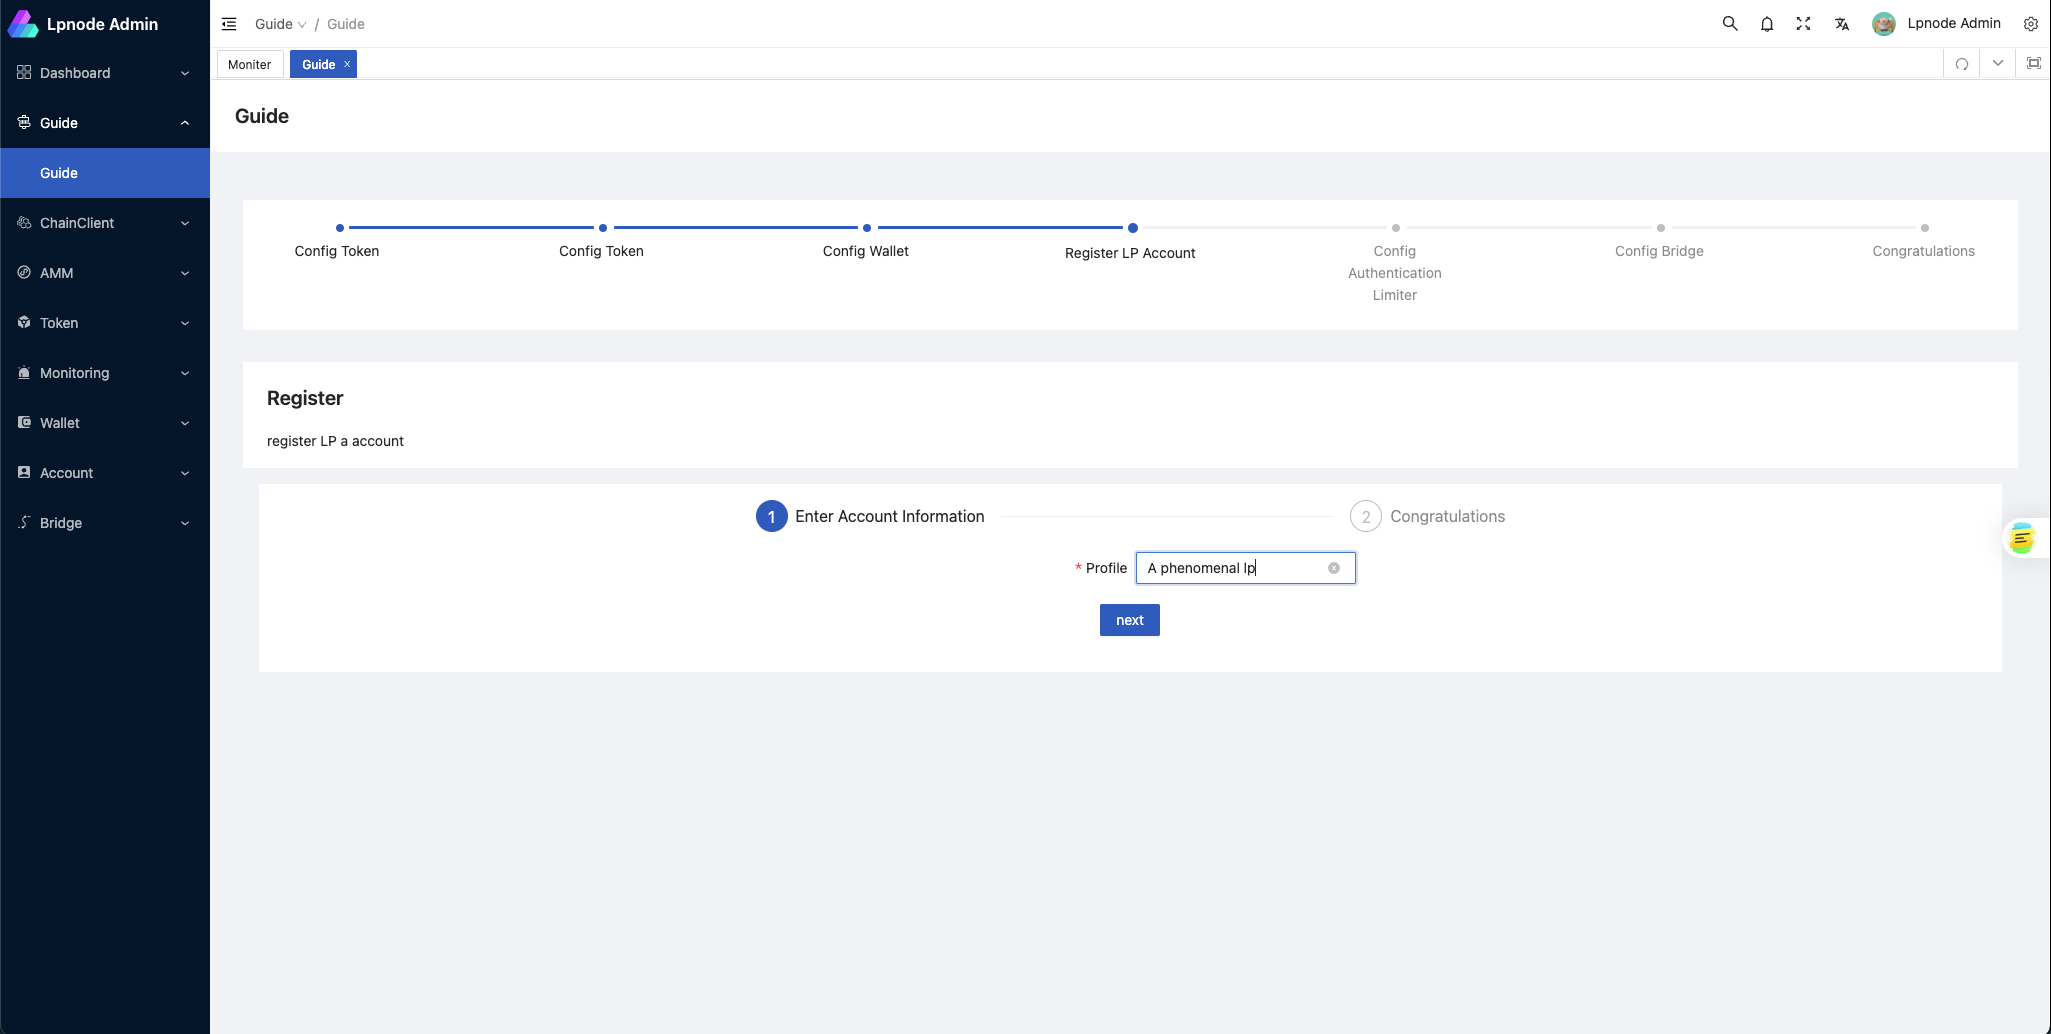
Configure Limiter
To configure the limiter, select either
blacklistorwhitelistmode. Then, choose countries from the corresponding list.Configure bridge
Select SRC Token, DST Token, SRC Wallet, DST Wallet, and the AMM program that you previously configured to create a
bridge.- SRC Token: The token received
- DST Token: The token to be sent
- SRC Wallet: The wallet that receives the src token
- DST Wallet: The wallet that sends the dst token
- Open AuthenticationLimiter: Enable limiter for this bridge (restrictions based on KYC geographic information are currently supported)
More Bridges
If you want to set up more bridges, you can fill in the details for each part of the new bridges from the sidebar. Then, go to the bridge setup page to create more.